Exploring Clay Modelling: Techniques for Starters
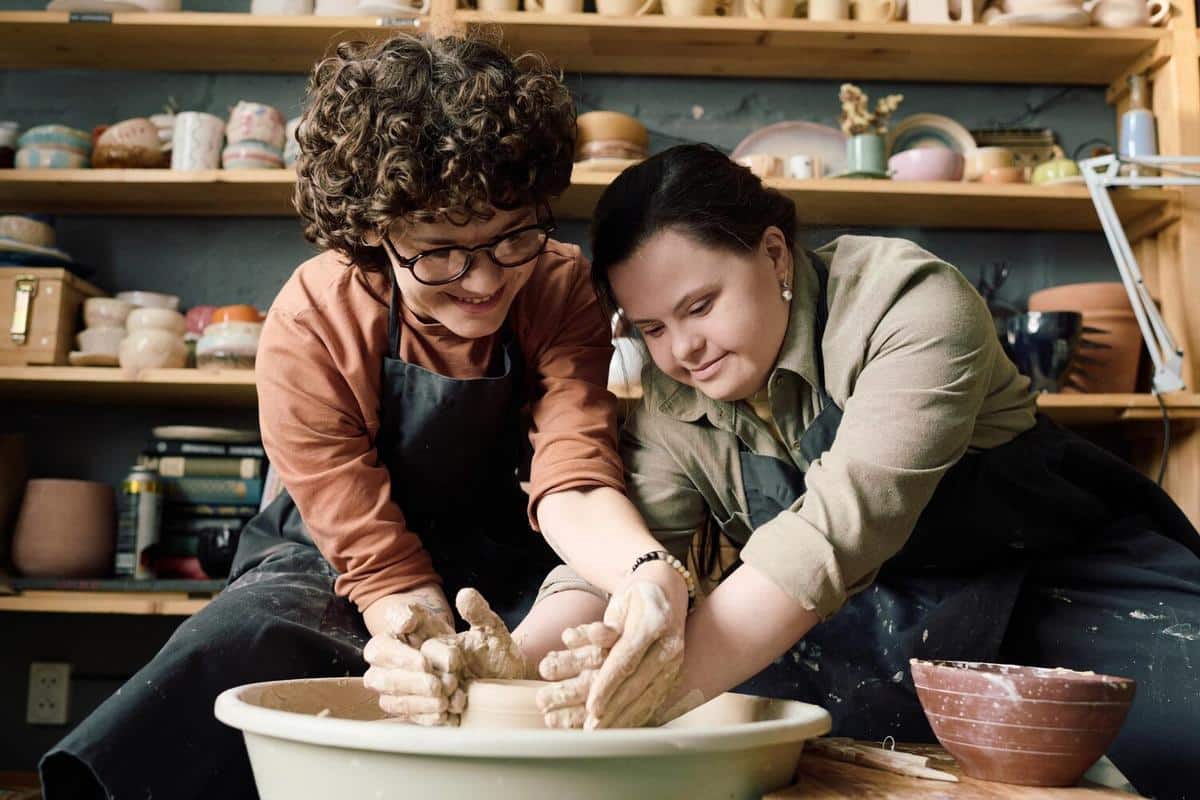
Clay modelling is a captivating hobby that offers a creative outlet and a chance to craft something beautiful with your own hands. Whether you’re seeking a relaxing pastime or looking to hone a new skill, clay modelling can be both rewarding and therapeutic.
Getting started with clay modelling can seem daunting, but with the right techniques and tips, even beginners can create impressive pieces. This guide aims to walk you through the essentials of clay modelling, providing you with the confidence to explore this artistic medium.
Understanding Clay Types
Choosing the right type of clay is crucial for beginners. Air-dry clay is perfect for those just starting out, as it doesn’t require a kiln. Polymer clay, on the other hand, is baked in a home oven and is great for detailed work. Renowned artist and sculptor, Emily Harris, notes, “Polymer clay offers versatility and vibrant colors, making it an excellent choice for intricate designs.”
Table of Clay Types
| Clay Type | Properties | Best For | Drying Method |
|---|---|---|---|
| Air-Dry Clay | Easy to use, non-toxic | Beginners, casual projects | Air dries |
| Polymer Clay | Versatile, bright colors | Detailed work, jewelry | Baked in oven |
| Ceramic Clay | Durable, traditional | Pottery, advanced projects | Kiln fired |
| Paper Clay | Lightweight, easy to sculpt | Crafts, mixed media | Air dries |
| Oil-Based Clay | Reusable, non-drying | Animation, prototyping | Does not dry |
| Model Magic | Soft, pliable | Children, educational crafts | Air dries |
| Epoxy Clay | Strong, adhesive properties | Sculptures, repairs | Air dries |
| Stoneware Clay | Strong, dense | Functional pottery | Kiln fired |
Essential Tools for Beginners
Having the right tools can make a significant difference. Basic tools include a rolling pin, sculpting tools, and a cutting wire. Tools can be as simple as household items; for instance, a toothpick can be used for adding fine details. Additionally, a damp sponge helps in smoothing surfaces and keeping the clay moist.
Basic Techniques to Master
Start with simple techniques such as coiling and pinching to create basic shapes. Coiling involves rolling clay into long strands and stacking them to build up forms, while pinching is perfect for making small bowls. As you gain confidence, you can explore more complex techniques like slab building and sculpting.
Common Challenges and Solutions
One common challenge is cracking during drying, which can often be mitigated by ensuring the clay stays uniformly moist and drying pieces slowly. Another issue might be achieving smooth surfaces, which can be tackled using fine sandpaper once the clay is dry.
FAQs
What should I do if my clay model cracks?
Cracks can often be repaired by applying a small amount of water or slip (a mixture of clay and water) to the crack and smoothing it over.
Can I paint my clay models?
Yes, most clays can be painted once fully dry. Acrylic paints are a popular choice for their vibrant colors and ease of use.
How can I prevent my polymer clay from hardening prematurely?
Store polymer clay in a cool, dry place and keep it wrapped in its original packaging or plastic wrap to prevent it from hardening.
Conclusion
Clay modelling is a wonderful hobby that allows for endless creativity and expression. By starting with the basics and gradually advancing your skills, you can create pieces that are not only beautiful but also deeply satisfying to make. So gather your materials, set up a workspace, and let your imagination guide you in this creative endeavor. For more in-depth resources, consider visiting art-focused websites and forums where you can connect with other clay enthusiasts and share your progress.


